
Lag during recording with OBS (Open Broadcaster Software) can be a frustrating issue, especially for content creators who rely on this software to produce high-quality videos. However, there are several steps that you can take to reduce lag and improve the performance of your recordings. By making a few adjustments to your settings, optimizing your hardware, and troubleshooting common issues, you can ensure that your recordings are smooth and high-quality.
One of the primary ways to reduce lag when using OBS is to adjust your settings. This includes modifying your bitrate, resolution, and framerate to ensure that your recording settings are optimized for your computer and the game or application you’re recording. Additionally, you can adjust your encoding settings, such as your video codec and preset, to improve the quality of your recordings without sacrificing performance. Another key step in reducing lag is optimizing your hardware, such as upgrading your RAM, GPU, or CPU. This can help to ensure that your computer can handle the demands of recording and encoding video. Finally, if you’re still experiencing issues, troubleshooting common problems such as driver issues, outdated software, or conflicts with other applications can help you identify and resolve the root cause of your lag issues. By following these steps, you can optimize OBS for your specific needs and ensure that your recordings are smooth, high-quality, and enjoyable to watch.
If you need to download OBS you can use this link! –> OBS
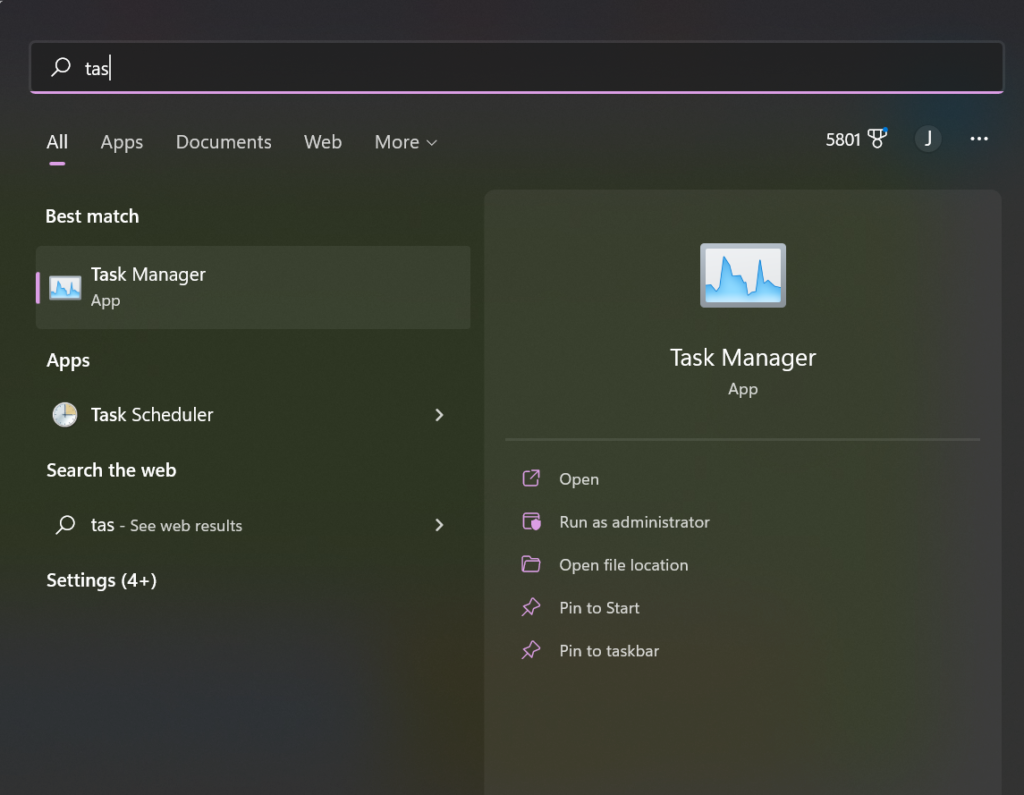
So the first thing you need to ensure is that OBS is installed. I won’t cover how to install it in this article because it’s pretty easy to do and is FREE! (Windows and Mac) Now that you have OBS installed open up your task manager. You can do this by searching your windows computer with the magnifying glass.
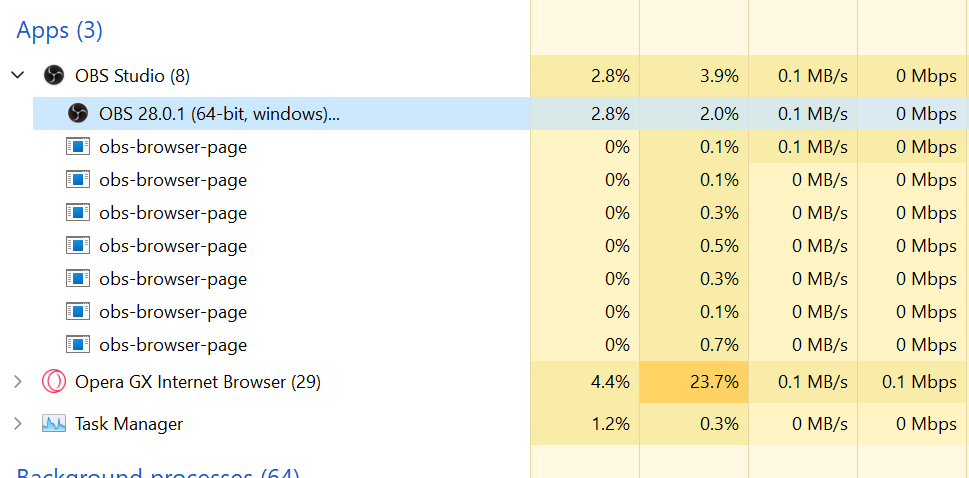
Once task manager and OBS are both opened navigate to the OBS selection under apps.
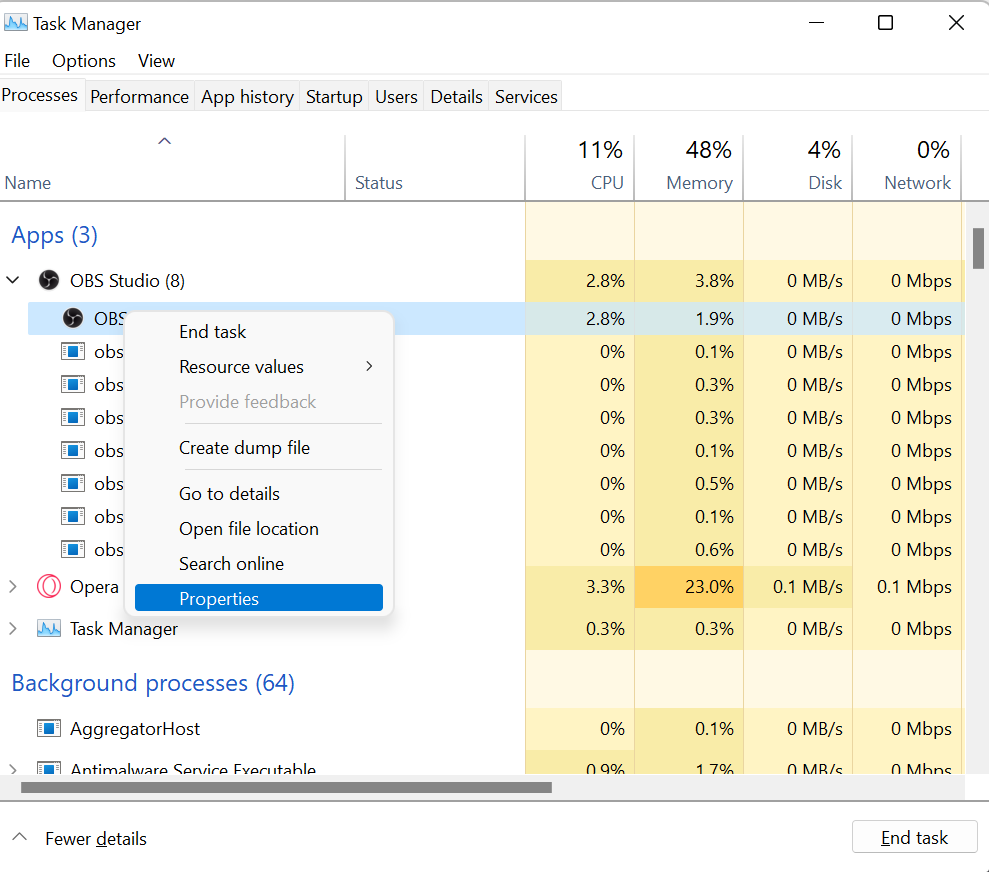
Now right-click on the second OBS selection under OBS. Then click properties.
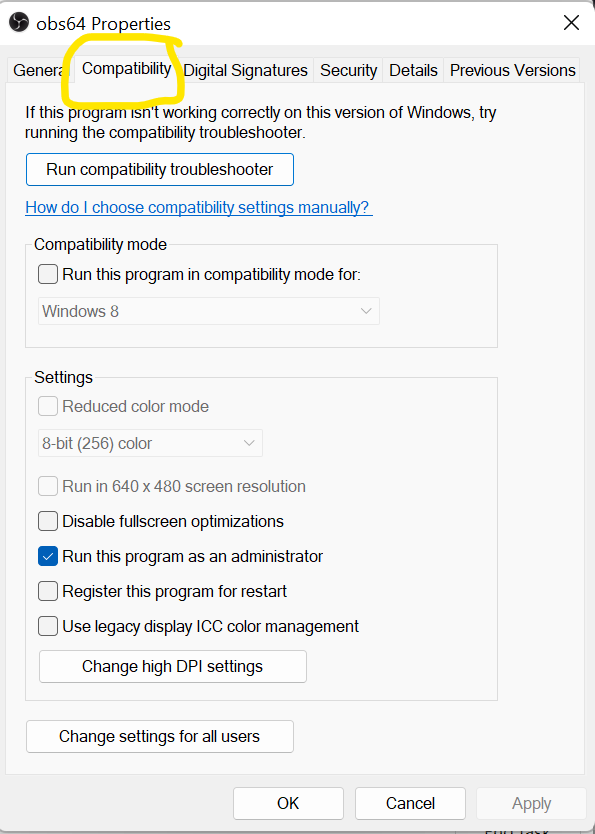
Now that you are in the properties tab navigate to the compatibility selection. Click “Run this program as administrator.” Click “Apply” then click “Ok.”
Now every time you open up OBS it will run as administrator. Now follow those same steps but apply them to the Roblox Client. This will make sure they can pull the necessary resources to record and play.
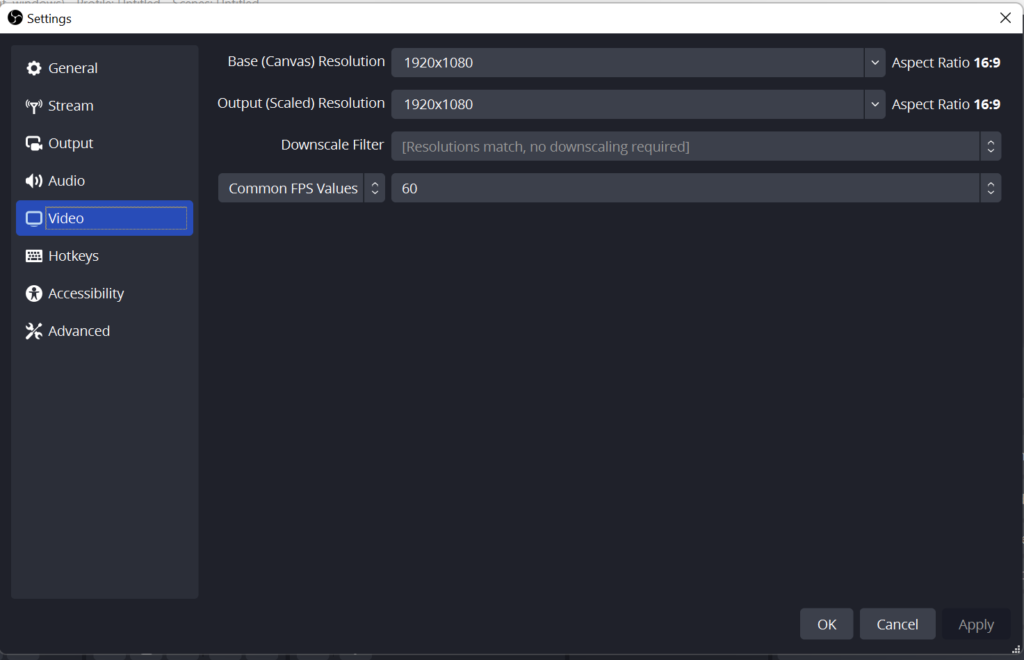
Now we will discuss the actual OBS settings. Open up OBS and navigate the to settings selection!
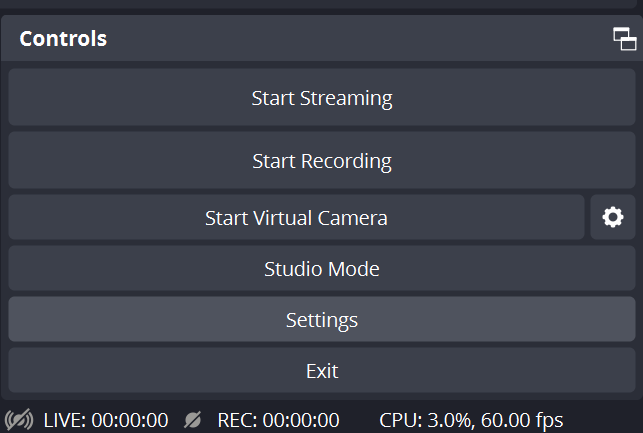
Now click on “Output!”
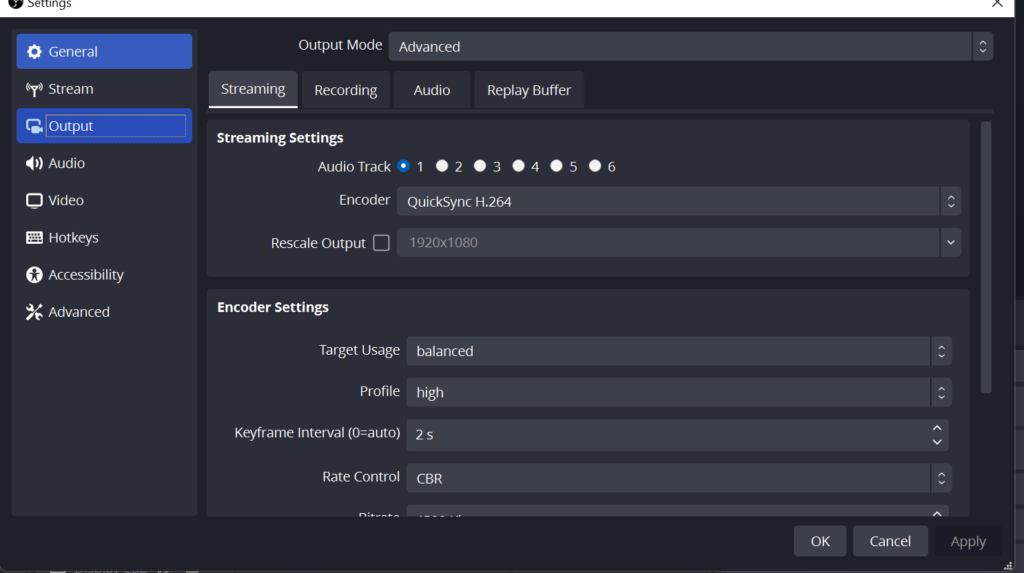
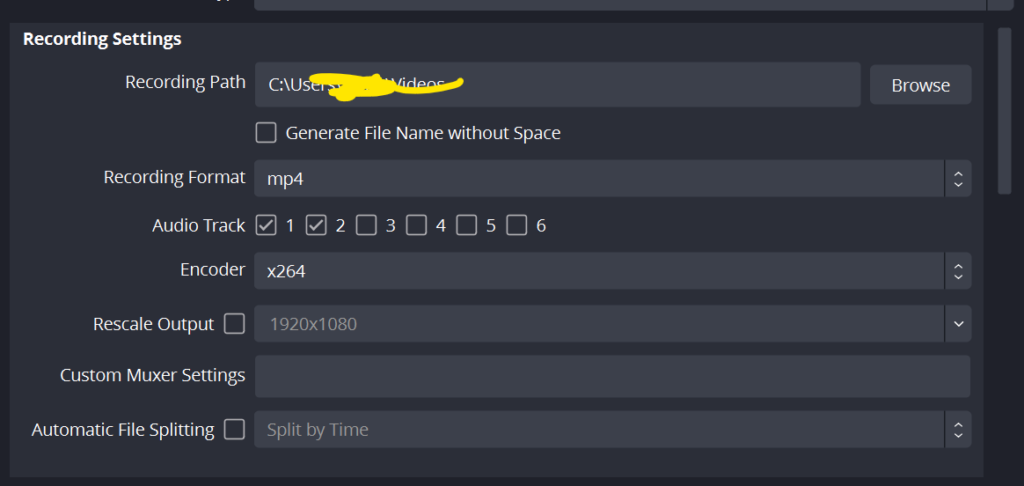
Click the “Recording” tab! Copy down the settings I have!
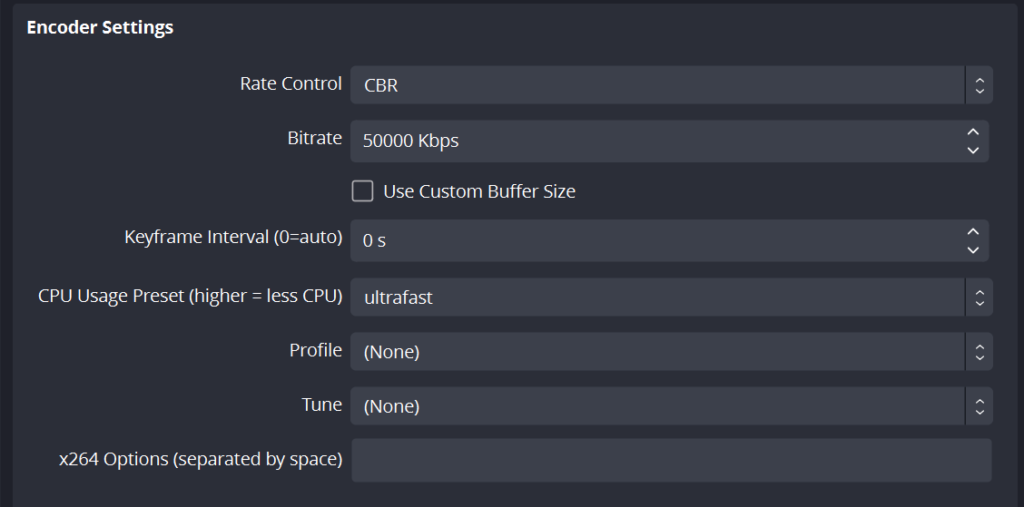
Now go into your video settings and make sure you are recording at 60 FPS! If your computer starts lagging very badly at 60 FPS I would recommend turning it down to 30 FPS!
If you are still getting high amounts of lag I would recommend turning your Roblox graphics down as it can stress OBS’s recording quality! I hope this helped you find the best recording settings for OBS on Roblox! Please comment down below if this fixed OBS lag or reduced it!