
Introduction – Main Menu
Creating a polished and functional menu screen is a crucial aspect of any game, providing players with an intuitive interface to navigate the game’s options and features. Fortunately, with Roblox Studio and pre-made game kits, this process is streamlined and accessible even for beginners. This guide will walk you through the steps to implement a main menu screen in Roblox Studio using a pre-made game kit, focusing on the provided script.
Understanding the Pre-Made Game Kit
Main Menu Roblox Studio Script Overview
The main menu script you will be using can be found at this link. This script provides a comprehensive framework for a main menu, including buttons for starting the game, settings, and more.
Key Components of the Script
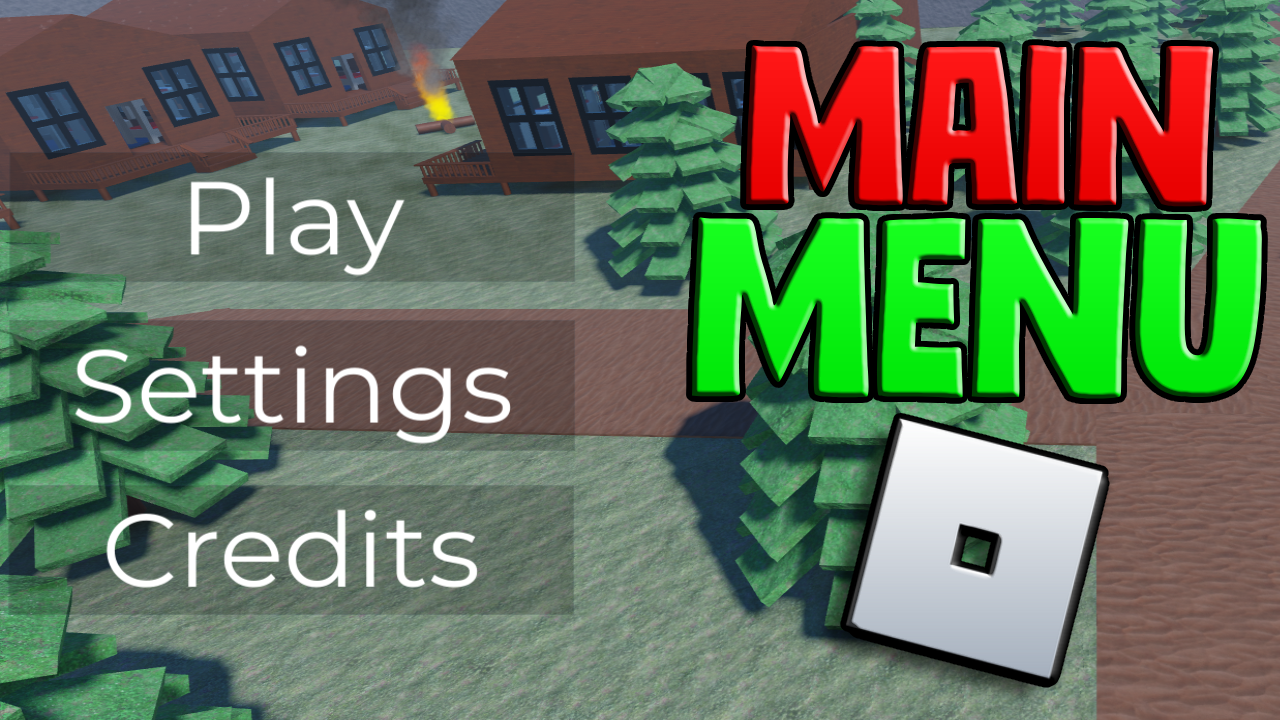
- UI Elements: The script includes various UI elements such as buttons, labels, and frames.
- Event Handling: It manages player interactions with the menu buttons.
- Transitions: Smooth transitions between different menu states.
Setting Up Your Roblox Studio Project
Creating a New Project
- Open Roblox Studio: Launch Roblox Studio and sign in to your account.
- Create a New Place: Click on the “New” tab and select a baseplate or any template you prefer.
Importing the Game Kit
- Access the Toolbox: Click on the “View” tab and open the “Toolbox.”
- Go to my Models: Use the search bar to find the main menu script using keywords.
- Add to Workspace: Click on the script and add it to your game’s Workspace.
Integrating the Main Menu Roblox Studio Script
Organizing the Script in the Workspace
- Locate the Script: The script will typically appear under “Workspace” or “StarterGui.”
- Move to StarterGui: If it’s not already there, drag and drop the script into the “StarterGui” folder. This ensures the UI elements are accessible when the game starts.
Customizing the Menu Screen
- Open the Script: Double-click the script in the “StarterGui” to open it.
- Modify UI Elements: Customize the text, colors, and positions of the UI elements to fit your game’s theme.
- Adjust Functionality: If needed, modify the script to add or change button functions, such as linking to different game modes or settings.
Testing and Debugging
Running the Game
- Play Mode: Click the “Play” button to test the game in Roblox Studio.
- Check Functionality: Ensure all menu buttons and transitions work correctly.
Troubleshooting Common Issues
- UI Not Appearing: Verify the script is in the “StarterGui” folder.
- Button Functions Not Working: Check the event handlers in the script for any errors.
- Script Errors: Use the output window to identify and fix any script errors.
Enhancing the Menu Screen
Adding Animations
- TweenService: Use TweenService to add smooth animations to your UI elements.
- Custom Animations: Create custom animations for button clicks and transitions.
Incorporating Additional Features
- Settings Menu: Expand your menu to include settings for volume, graphics, etc.
- Leaderboard: Integrate a leaderboard to display top player scores.
FAQS
How do I access the main menu script in Roblox Studio?
- You can find the main menu script in the Roblox Creator Marketplace. Use keywords like “main menu” to search and add it to your project.
Why is my menu screen not showing up?
- Ensure the script is placed in the “StarterGui” folder. This folder is necessary for UI elements to be visible when the game starts.
How can I customize the buttons on the main menu?
- Open the script in the “StarterGui” and modify the properties of the buttons and other UI elements to match your game’s theme.
Can I add more buttons to the menu?
- Yes, you can add more buttons by duplicating existing ones and updating their properties and event handlers in the script.
How do I troubleshoot script errors?
- Use the output window in Roblox Studio to view error messages and identify issues in your script.
Conclusion
Creating a menu screen in Roblox Studio using a pre-made game kit is a straightforward process that enhances your game’s user experience. By following the steps outlined in this guide, you can easily integrate and customize a main menu script, making your game more engaging and professional. Dive into Roblox Studio today and start creating impressive game interfaces with minimal hassle.