

Steps to creating a professional Roblox YouTube thumbnail for free! (How to make a Roblox Thumbnail for free!)
⬇️ LINK TO THE FULL VIDEO BELOW! ⬇️
If you have any trouble at all make sure to go watch my video for a more in-depth tutorial.
Requirements (Apps, Extensions, Devices, Websites,)
How to import your character without Blender!
Device Requirements
Mac and Windows Computers. (Must be strong enough to run Blender and Roblox studio. Recommend RAM is at least 8 GB.)
Applications (download links included)
Photopea (Free Online)
Extensions
Load Character Lite (Roblox Character Importer)
Moon Animator (Tool to position Roblox character)
Blender Lightroom (Free .blend file so we can render our character) Credits to: Friyllie Go check him out!
First Steps To Making Roblox Thumbnails!
First Steps
The importance of having a clear idea or theme for a Roblox YouTube video cannot be overstated, as it provides the foundation for creating a compelling thumbnail that entices viewers to click and watch. Once you have identified the core idea or theme of your video, you can start brainstorming thumbnail ideas that will capture its essence and appeal to your target audience. One effective strategy is to focus on the game or subject that you addressed in your video and use it as inspiration for your thumbnail.
For example, if you created a YouTube video playing the popular Roblox game, Arsenal, you might want to consider using a thumbnail that features the character’s hands holding a weapon. This would immediately convey to the audience that your video is about Arsenal and pique their curiosity about what type of gameplay or strategies you will be showcasing. By incorporating elements that are familiar to your audience, such as weapons or game-specific features, you can create a stronger connection between your thumbnail and your content. This connection can help your thumbnail stand out in a crowded field of Roblox content and increase the likelihood that viewers will click on your video. Ultimately, having a clear idea or theme for your video and reflecting it in your thumbnail is essential for attracting and retaining viewers on your Roblox YouTube channel.
Getting Roblox Studio is the first step toward making a thumbnail. Roblox Studio allows you to use your character in the thumbnail. Both Windows and Mac systems run Roblox Studio. To download it, go to Roblox Studio by clicking here. Open Roblox Studio after you’ve installed it. You should see a screen with various Roblox templates when Roblox Studio launches.
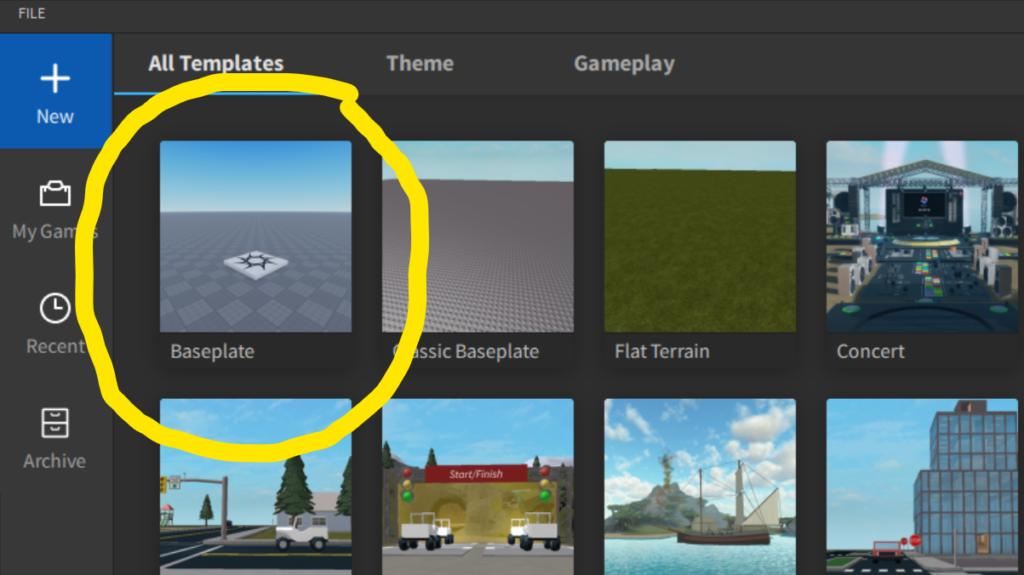
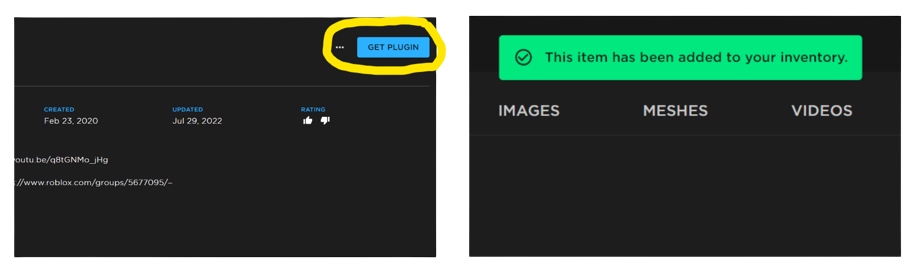
After opening the “Baseplate” template, you must install two Roblox Studio plugins: Moon Animator and Load Character Lite. Use this link to install them: Moon Animator Load Character Click “Get Plugin” to install them. You should see a prompt after installing the plugins that reads, “This item has been added to your inventory.” You can then return to Roblox Studio.
Using The Plugins
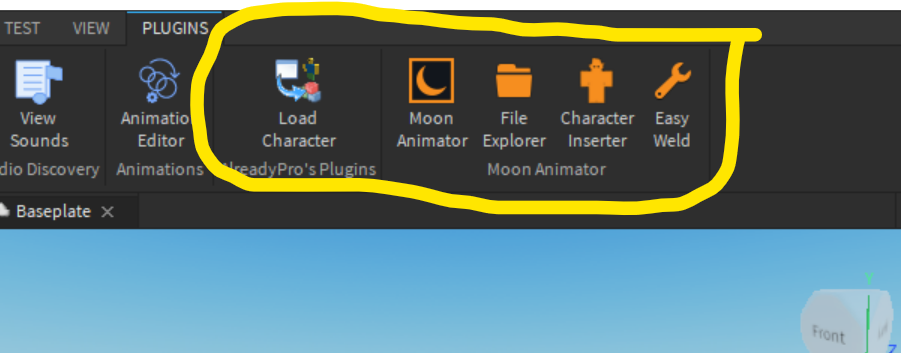
With your new plugins installed you should now see them in your plugins tab on Roblox Studio. If you see more than two it is because you have used other plugins prior to this.
Importing Your Avatar
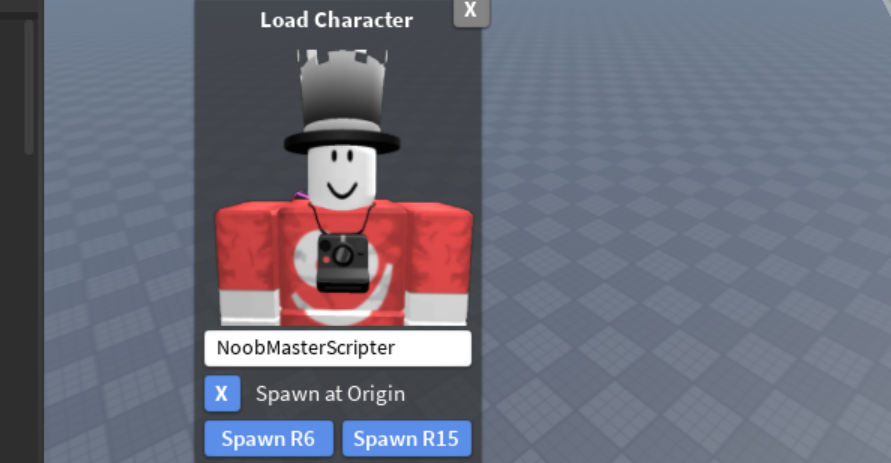
Click on the “Load Character” plugin. It should open a small pop-up box. In that popup box, it will have a place to put your Roblox user name. After you type in your name you should see your Roblox avatar. Before you click “Spawn at R6” make sure to select the “Spawn at Origin” box.
Finishing Importing Process
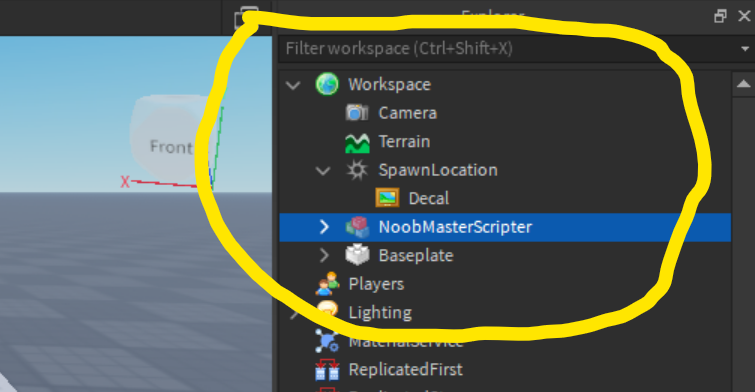
After you have imported the character into the workspace you can close out the “Load Character” pop-up box. You can also delete the “Baseplate” and the “Spawn Location” in the workspace.
Setting Up An Animation
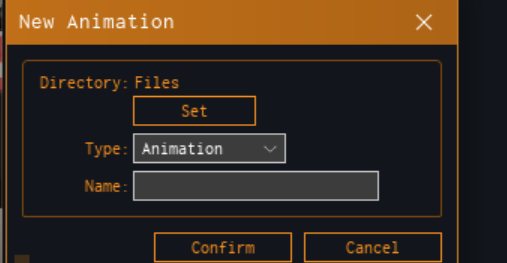
The next step is positioning your Roblox character. To do this, select the Moon Animator plugin in your plugins bar. Once that opens click file>new animation. (Still inside the Moon Animator.) Name the animation anything you like. Then click Confirm!
Correct Selection
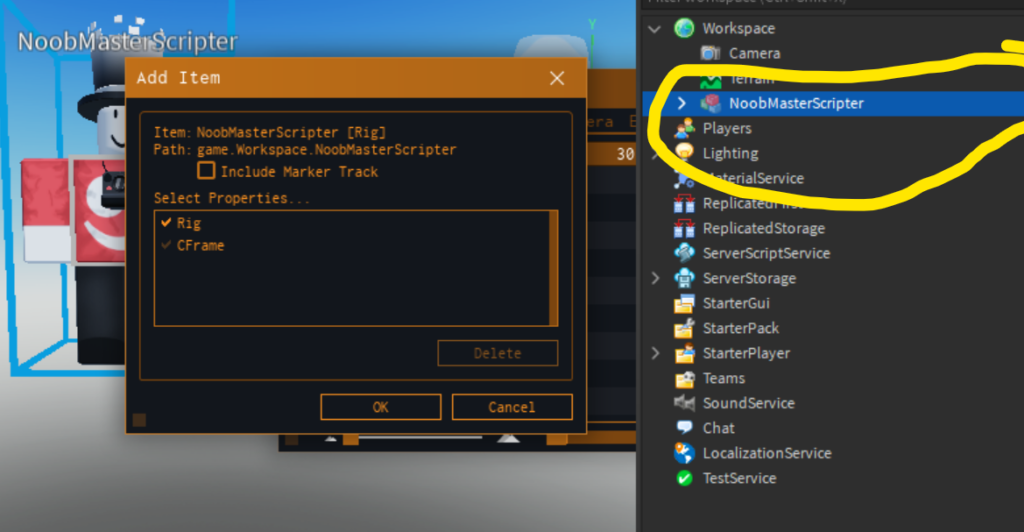
Next, click the plus button on Moon Animator! Make sure you select your Roblox character before creating the Animation. After that click the “Ok” button!
Positioning
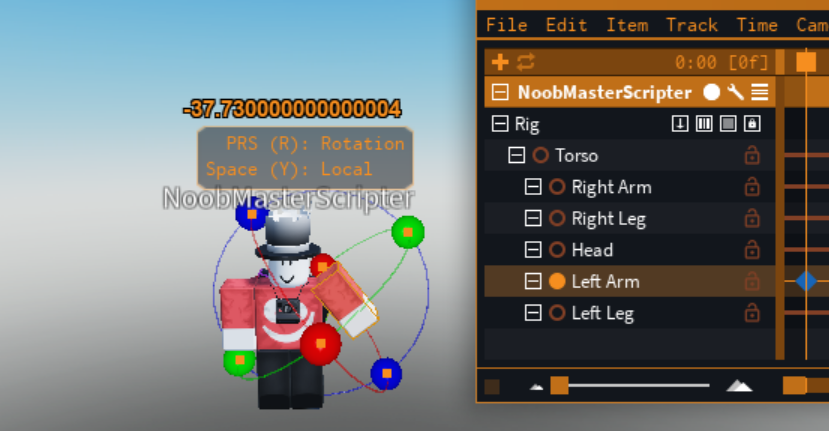
Once you have done that you will be able to select your Roblox avatar’s body parts. You can position them freely. You can make your character pose any way you like.
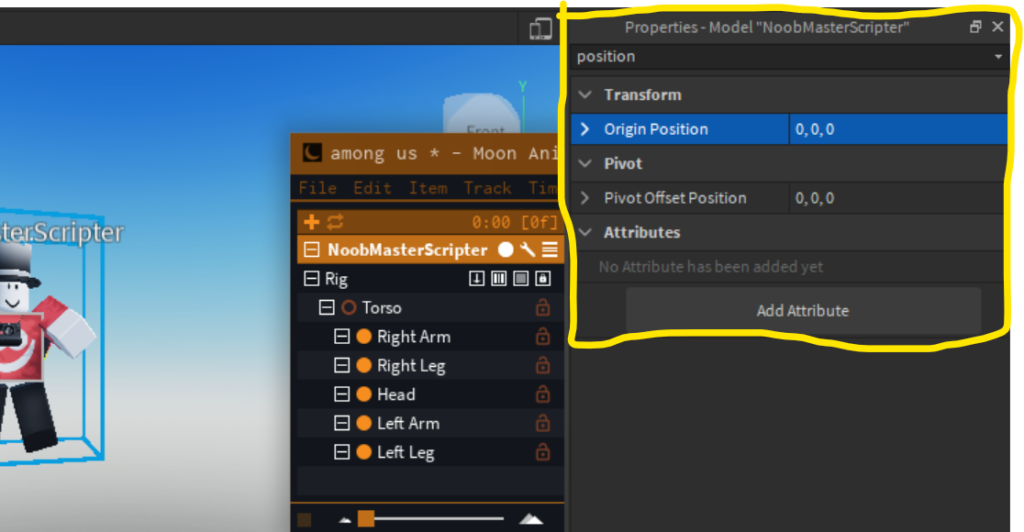
Making Your Character At 0,0 (Origin)
You MUST ensure that your character’s location is at 0,0 before exporting it to Blender for rendering. Go to the properties tab and type “position” to relocate your character to the origin. Once you’ve done that, numbers ought to appear. If it already says 0,0,0 you can move on and skip this section. If not, simply set it to 0,0,0.
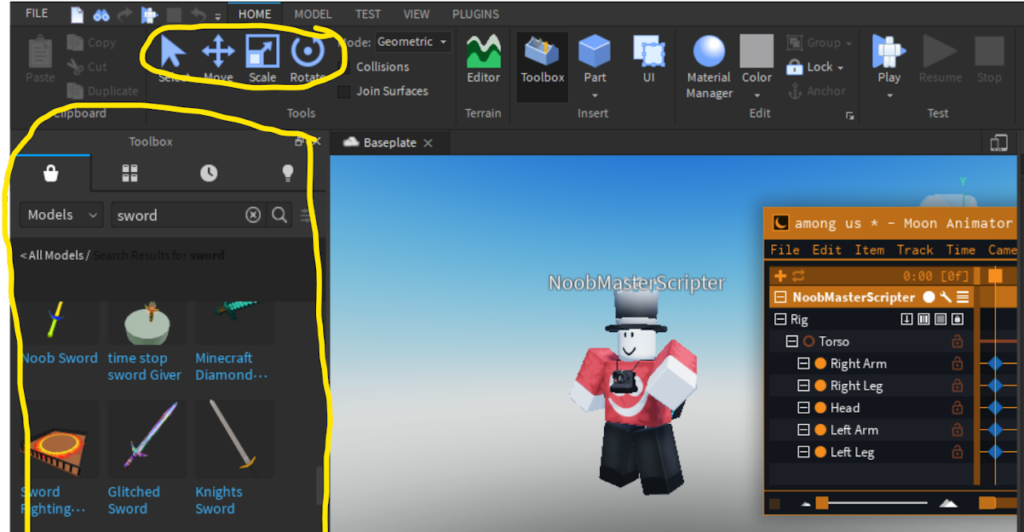
Adding Weapons/Items (Not Required.)
If you are wanting to add an item to a player’s hand then search for your desired item of choice. Then click and drag it into the workspace. After you do that you can position the sword in the player’s hand by using the “Select, Move, Scale, and Rotate” tools.
Exporting to Blender
Once your character’s origin is set go back to the “explorer” window on Roblox Studio. Then select your character or multi-select your character and the item by holding shift. Then right-click on your character and click “export selection.”

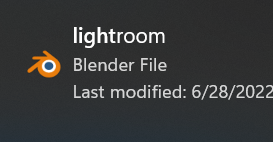
Opening In Blender
Open the Lightroom file you downloaded once Blender is installed. Download it from this page if you haven’t already! We will render our rig here for our thumbnail! Here is an alternative if you can’t use blender!
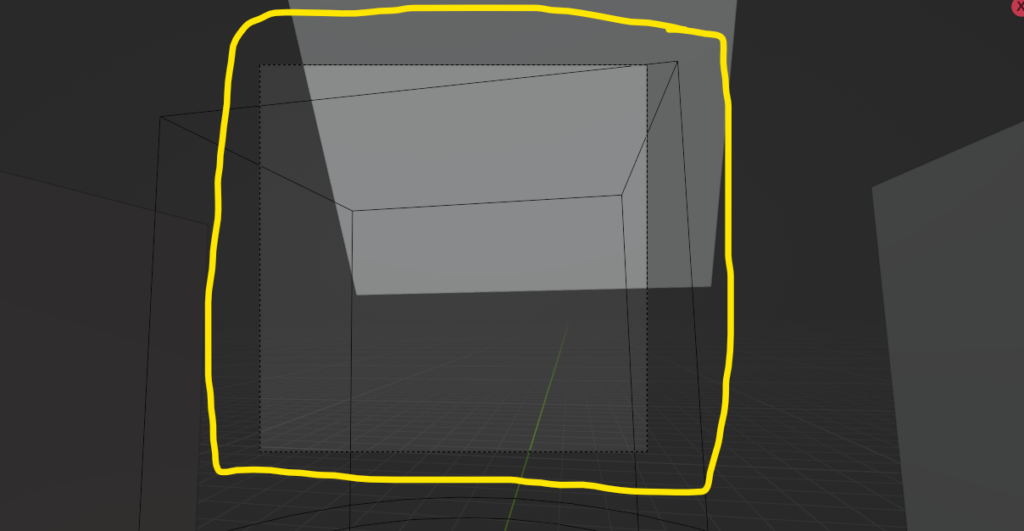
Setting Up For The Render
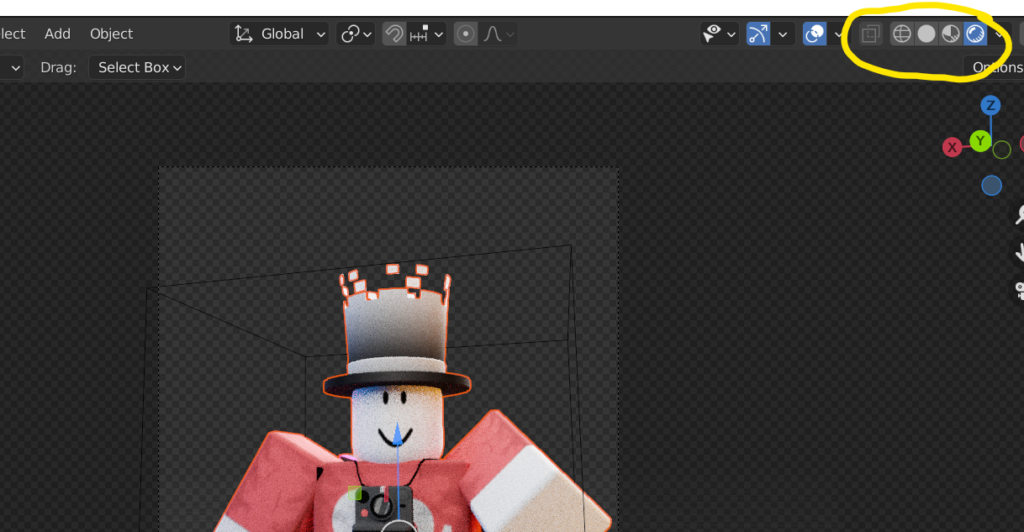
In lightroom, you should be in Camera mode. You can see a square outline of the frame. Anything outside of that frame WILL NOT render.
Setting Up For The Render (Importing)
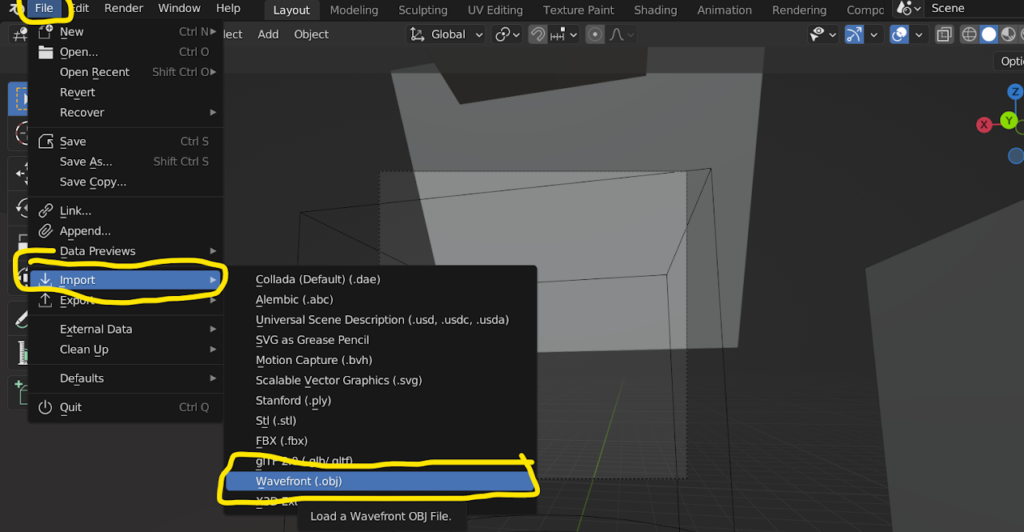
To import your character click file in the top right corner. Click import> Wavefront (.obj).
Setting Up For The Render (Importing)
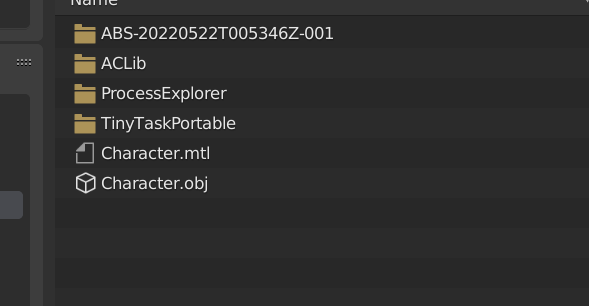
Find the name of the file where you saved your character. Then click import obj.
Setting Up For The Render (Importing)
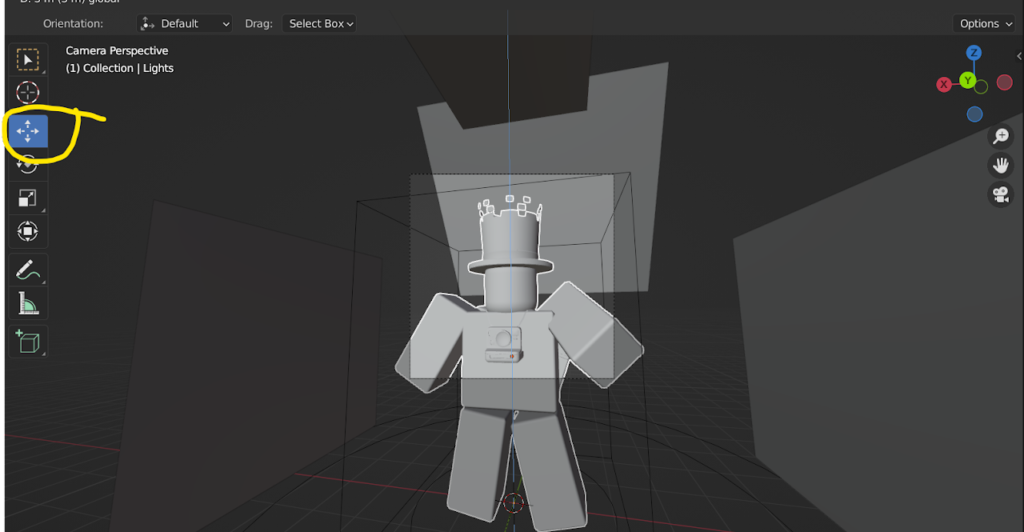
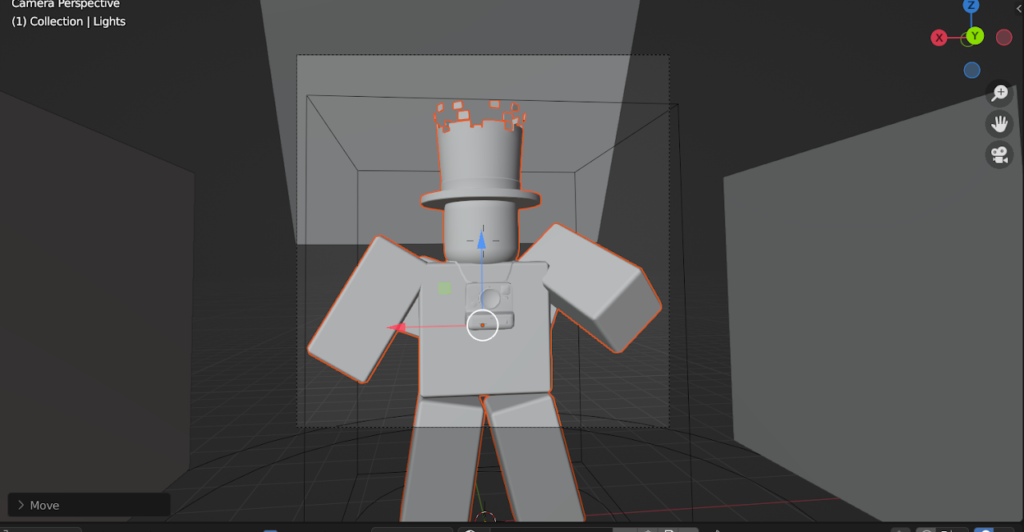
Your character should import. It may not be in the camera angle. If you would like to move the character into the view of the camera click the move tool. Then move your character up into the camera’s view.
Setting Up For The Render (Positioning)
The camera may not show the character’s full body. To move the camera click shift ` on your keyboard. Now you will have the same free cam that you do in Roblox Studio.
Setting Up For The Render (Polishing)
If you would like to check the color and what the render will look like you can click the render icon button!
Rendering
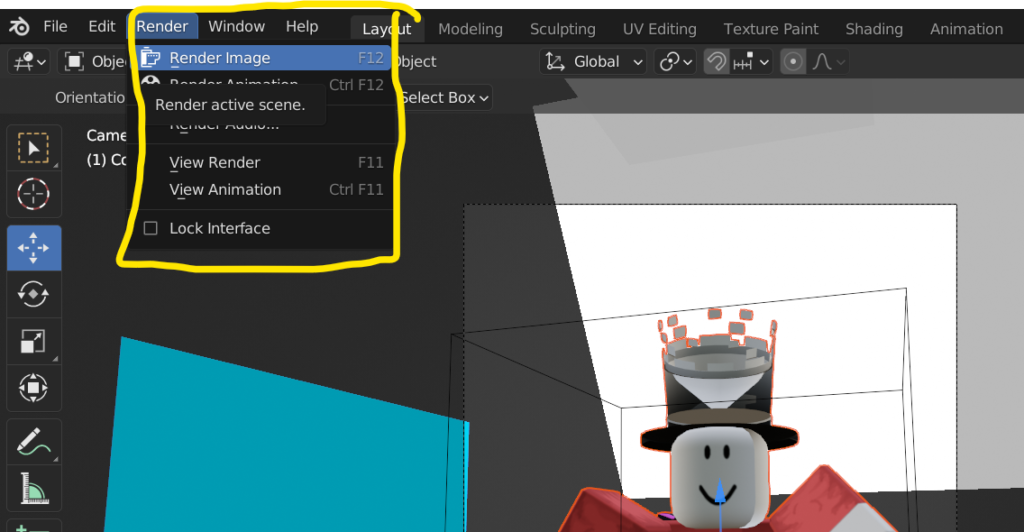
Once you are happy with the look of your render click render > render image. This will render your final product. (Not the full thumbnail)
Rendering
Once the render is finished, click Image > Save As then save it and call it whatever you want.
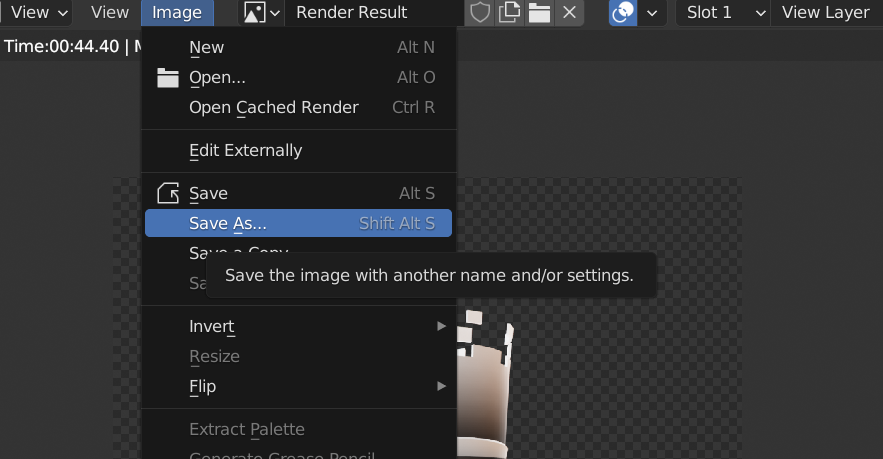
Photo Editing!
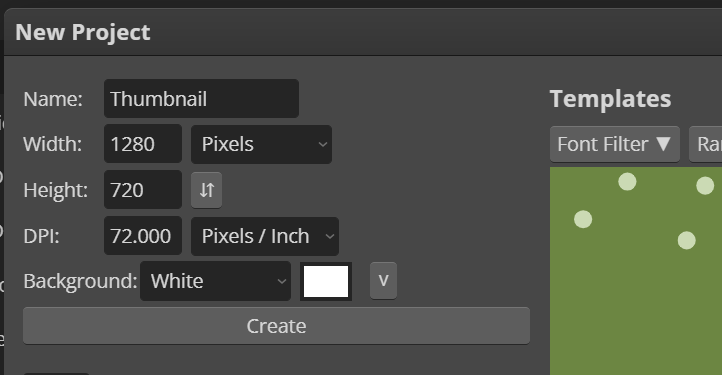
The next part of the process is putting everything together. We can use other images, backgrounds, and text. All of this will enhance our thumbnail. We will be using Photopea to put everything together. It’s free and online! To sum it up it’s basically a free Photoshop. First, go to Photopea.com once you are on that page “New Project” then in the length and width box type 1280×720 this will get our thumbnail set to the right size.
Editing
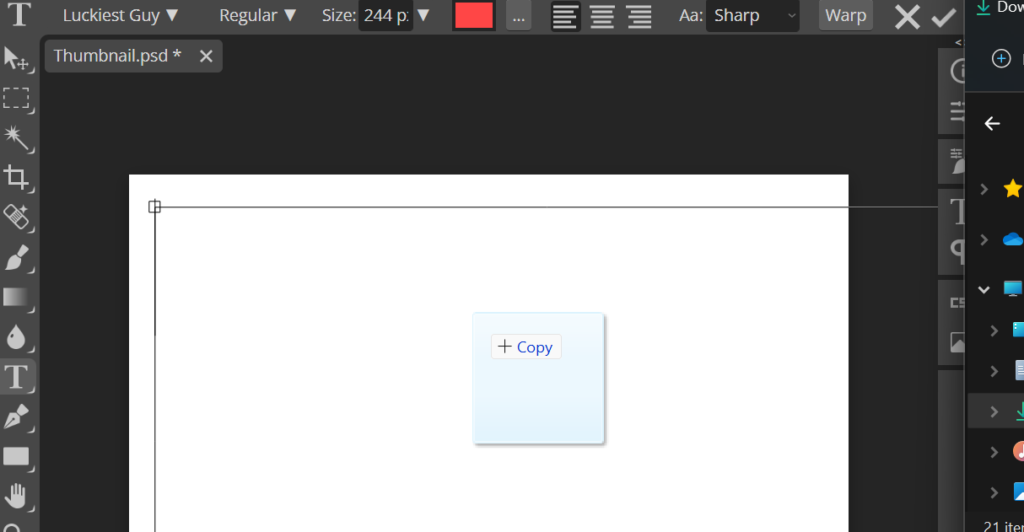
Once you have typed in the proper length and width click the create button. You should be greeted with a white screen.
Editing
Make sure to download styles.asl which is for your text and to help with lighting and color balance. Once you download them add them to Photopea. Drag the file into the canvas.
Editing
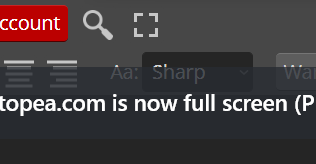
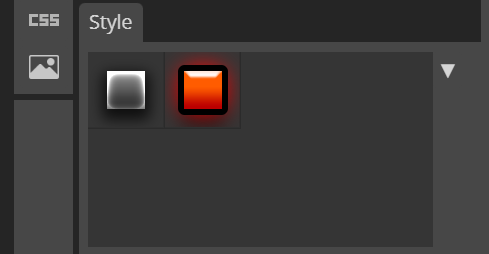
Once you have added the styles you should now see two new icons in the corner. If your screen no longer fits you can click the full screen to correct it.
Editing
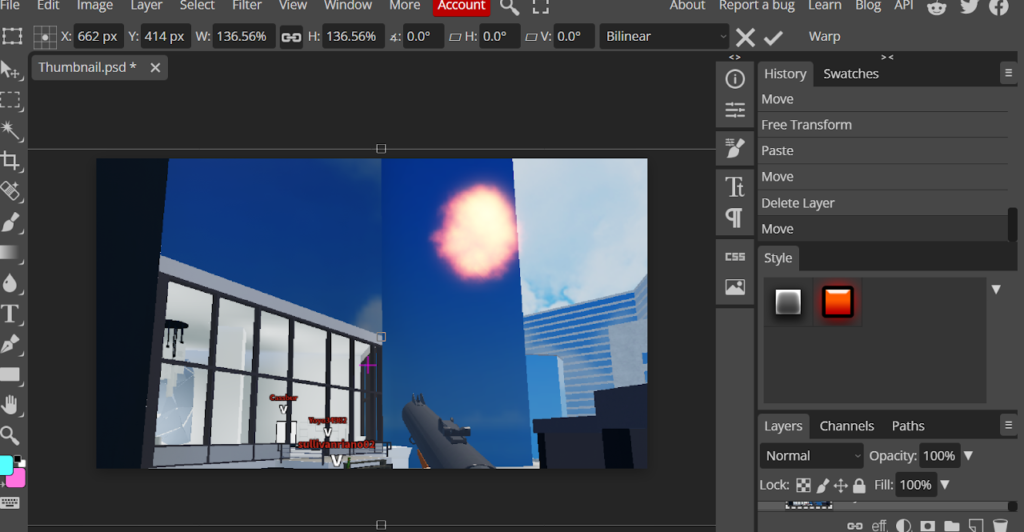
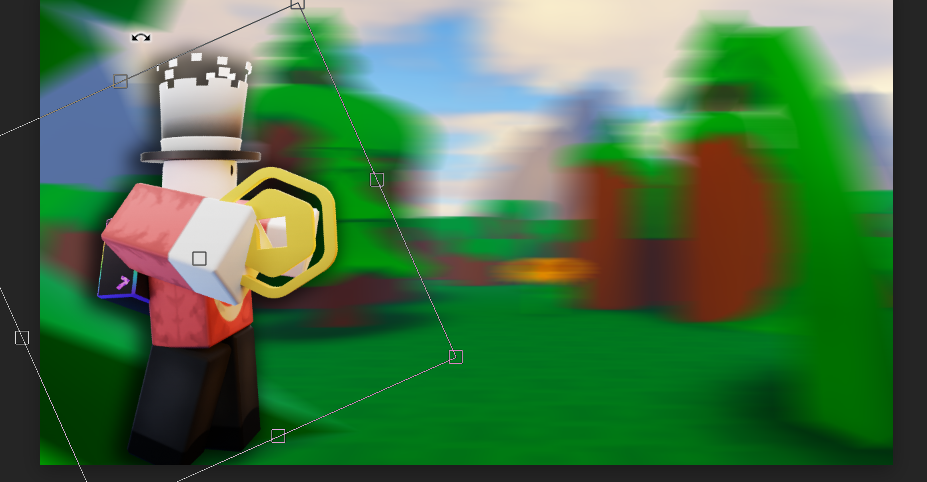
Now that we have our canvas set up we need to start by creating a background. The best background is a blurred game background. For example, if you are making an Arsenal thumbnail go into Arsenal and take a screenshot in-game. Once you have the screenshot put it into Photopea and make it fit the canvas perfectly.
Editing
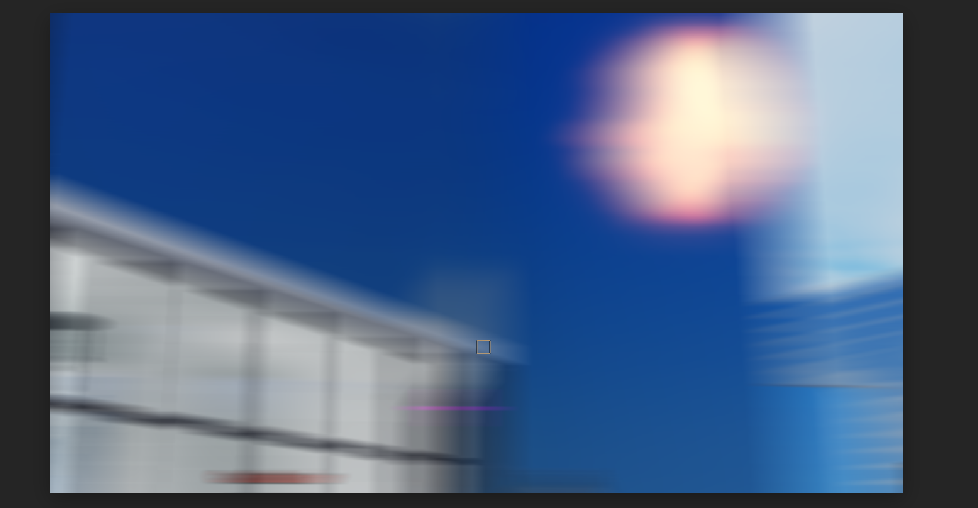
Now we are going to want to blur the background to do this click Filter > Blur > Motion Blur after that set it to 100 percent. Then you are done with your background.
Not Required!
If you want to make it brighter go into Image > Adjustments > Brightness and Contrast and set it to your liking!
Editing
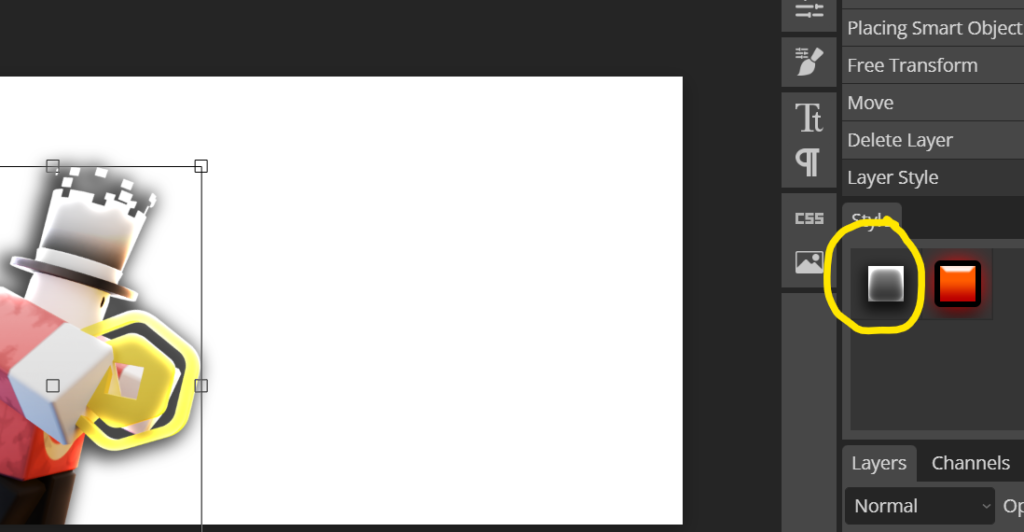
Now you can drag your ROBLOX character on the thumbnail. Once you have done that apply the first style to the ROBLOX. It may look very bright but we will fix it.
Editing
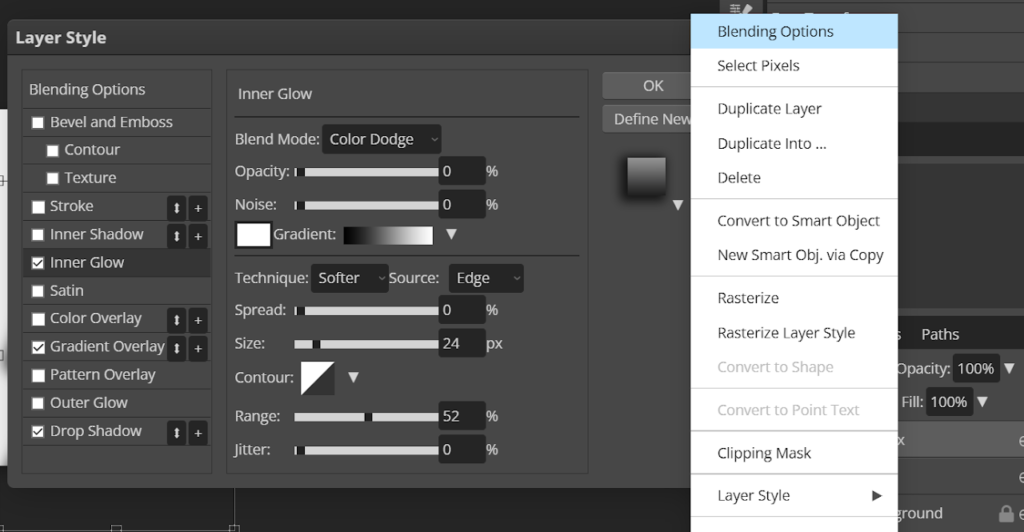
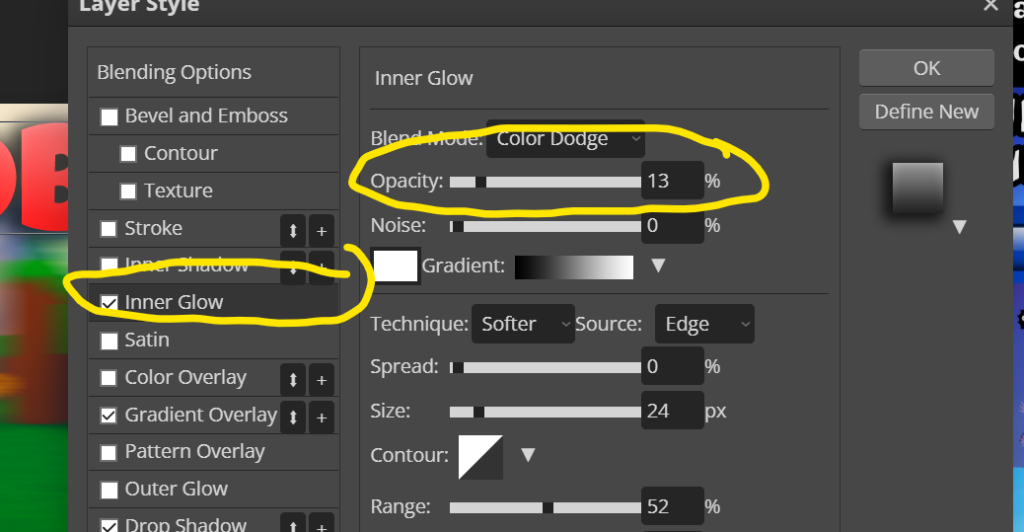
Now make sure your character is selected then right-click it in the “Layers” tab. Then click Blending Options. After that find, the “Inner Glow” tab and click it. Then turn down the Opacity to 0! If you have trouble seeing this part go watch my video link above!
Editing
Now that we have the basic part of the thumbnail created we need to position our character. Positioning is subjective and creative. You can place them anywhere that you think looks good!
Editing
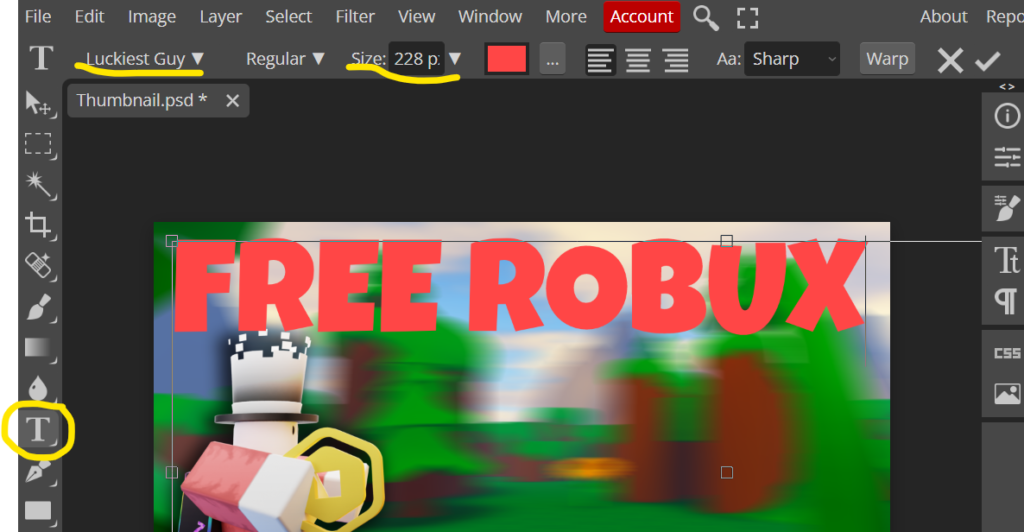
Now we need to add text. To do that click the Text Tool on the left navigation bar. Your text can be the size and font of your choice.
Editing
Now make sure your text is selected and use either of the styles that we imported.
Editing (Style One)
Style one may look a bit odd at first. To fix this we need to change the color of the text to a lighter color and change the Opacity! Open up your Blending Options and click Inner Glow and turn down the opacity!
Editing (Style Two)
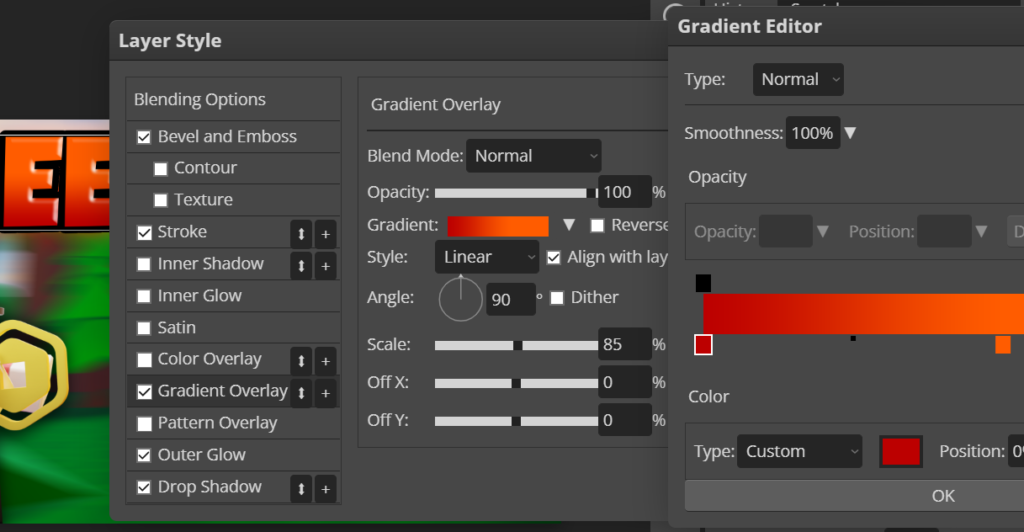
If you are using style two and want to change the color then go to your Blending Options > Gradient Overlay and then change the Gradient to the color(s) of your choice.
Editing (Style Two)
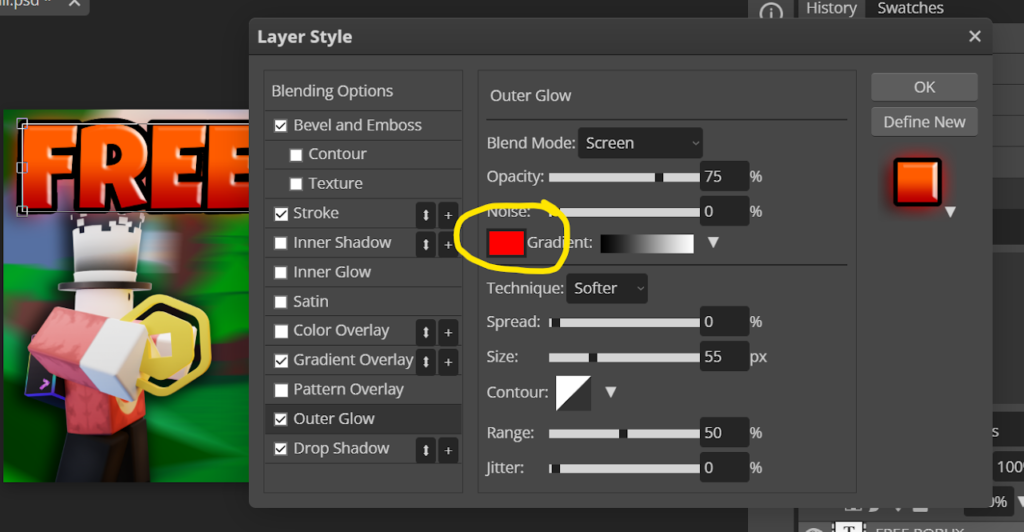
Make sure to also change the Outer Glow Gradient to the color of your choice.
Now that we have our text set up we can add images and screenshots relating to our thumbnail’s topic. For instance, if you are showing them a method to earn Robux you can take a screenshot of the website/method. If it is making shirts, games, etc you would want to put that on the thumbnail! The example in this blog was a simple one made very quickly for the sake of your time. The more you practice the better you will get and the more you will learn about Photopea. In my YouTube video, I will go a little bit more into depth about finishing touches and better positioning but for the most part, it’s up to your creative mind!